When we compose a new design we need to be aware that the final result is made up of 12 different colours maximum.
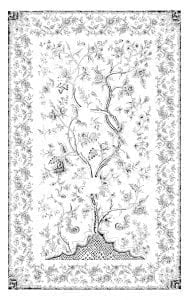
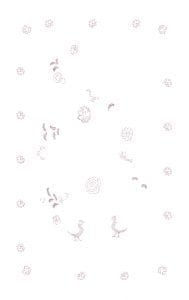
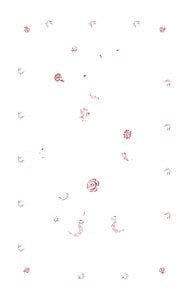
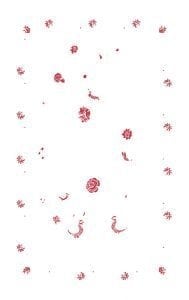

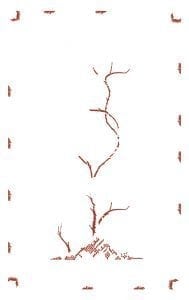
 That is because the printing machine has room for a maximum of 12 cylinders. After a completely colored drawing is made with the correct repeating size, it is then separated into the number of colors used to build up into the finished design. The repeating size depends on the diameter of the printing cylinder, in our case 64 cm or 92 cm, or a size that it can be divided into, like 32 cm or 46 cm. If a design involves e.g. ten or 12 colors, ten different part drawings are also created, which are then used by the engraver to prepare ten (in this case) different cylinders or stencils. Although most designs use no more than six basic colours, additional shades can create a better effect. For example, for red we can obtain a better effect if two or three additional shades are used. As soon as the engraver finishes his work and the printing cylinders have been delivered to the fabric print shop, test printing begins using previously selected colors. In the factory’s ‘colour kitchen’, where the paint is stored in containers, the ‘colour master’ first hand-mixes a sample of each colour. When these individual colors are right, the cotton is pasted ‘smooth’ onto the conveyor belt, starting by printing proof copies.

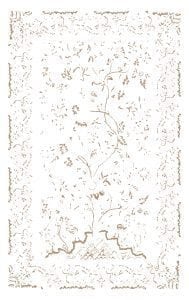
Only when the colors used provide the desired overall colour image do we start printing ‘runs’ in quantities from perhaps one or two hundred meters of fabric, depending on demand and orders. As soon as the printers have placed each printing cylinder in the correct order into the printing machine, the cylinders are filled under pressure with the appropriate colour paint using a connection mechanism in the printing machine. Beneath the cylinders is the cotton fabric pasted onto the conveyor belt which moves independently, but at the same pace as the printing cylinders, to the end of the ‘printing line’. See images. The print screens are made of very fine gauze. In the places where the paint is not to pass through the gauze is sealed with a special coating. At the end of the ‘print line’, when all colours have been printed, the printed fabric is taken off the conveyor and then dried in a ‘drying channel’ so that finishing processes like fixing can be performed. A ‘binder’ in the 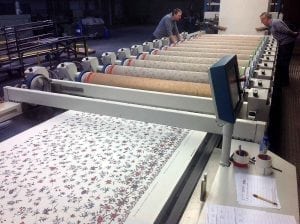 pain ensures that the colour is washable and abrasion-resistant. The ‘binder’ has to harden for around five minutes in the drying channel at 150 degrees Celsius. The selvedge of the printed material contains most of the ‘pico points’. Here you can see how many colors were used in the design and whether the different print screens good were aligned correctly with each other. Betina printing works exclusively with pigments which are resistant to long-term exposure to sunlight and artificial light and can also be washed without fading. It is these colorings which are added to the transparent base paste used to ensure that the material is suitable for printing and washing. These pigments are not just important for interior decoration fabrics like curtains, but also in textile working methods like patchwork. In Asia in particular printing usually uses ‘reactive dyes’. Unlike our own Dutch production with pigment printing on 150 cm width fabrics, almost all other typical patchwork materials are printed in Asia with reactive dyes on 110 cm wide material.
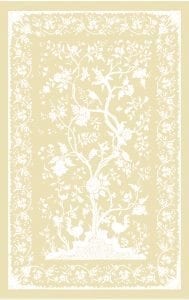
 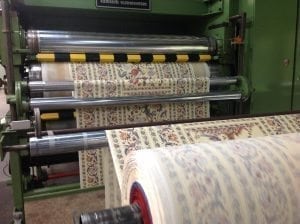 These reactive dyes have the benefit of being soft to the touch and offering more intense colors; a disadvantage is that they have bad light resistance, so they are not suitable as curtain material, etc. and without suitable treatment by the manufacturer they continue to fade or bleed when washed. To prevent the printed fabric from wrinkling during the printing process or while drying, the material is pinned down on its length and dried at the set width. The pinholes are mainly visible at the edge of the material.
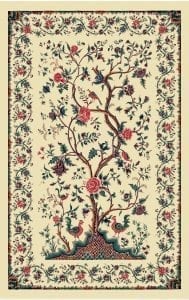
Lastly the printed and dried material is ‘calandered’. This involves being passed through two heated rollers, which gives the fabric a slight sheen. The heat and the pressure effectively press the fabric flat, giving it a glossy surface. The level of sheen can be adjusted by setting the pressure, temperature and speed at which the material runs through the rollers. This method is based on a mechanical process, so there are no liquids or chemicals involved. There just remains an inspection where pieces of material with errors and irregularities are removed and the approved sections are wound onto standard reels.